At last, We have written a complete description of how we made our boat's hull.  |
| This is our final drawing of the boat, camera and motors are not included. |
It was our goal to make the hull ourselves, here it is, from a simple
drawing to reality.
 |
| A childen's boat used as model |
It was quite difficult to draw the boat without any experience,
I therefore got inspiration from different kinds of boats, including
a child's toy boat, and a real boat which use to be used on Lake Trasimeno in the sixteenth century.
I spent two long weeks thinking about it when I completed
my drawing, and I finally decided that our boat would have
the following measurement 31.5 cm x 16.5 cm x 10.5 cm.
my drawing, and I finally decided that our boat would have
the following measurement 31.5 cm x 16.5 cm x 10.5 cm.
 |
| Here we are printing the drawing of the boat |
 |
| A tipical kind of boat used in the 16th century for lake navigation |
Two weeks later we started building it following four different steps:
- Make the mould.
- Make the DAS core.
- Put the fiberglass on the DAS core and paint every part.
- Make a cover, prepare the inserts for the screws.


- Gardener's sponge
- Cutter, nippers and knife
- Files
- Generic glue
We first made a block of Gardener's sponge of the right size.
Then we started digging in the shape we needed.
It took a week's work to make the mold hull (considering that we could meet only a few hours a day), but finally we did it.
It took a week's work to make the mold hull (considering that we could meet only a few hours a day), but finally we did it.


.jpg)
2. After that we made the DAS core using:
- DAS (1kg) and the rest will be used later
- Nails
It only took one day to put the DAS on the mould, we used a lot of nails to make the DAS adhere properly to it.


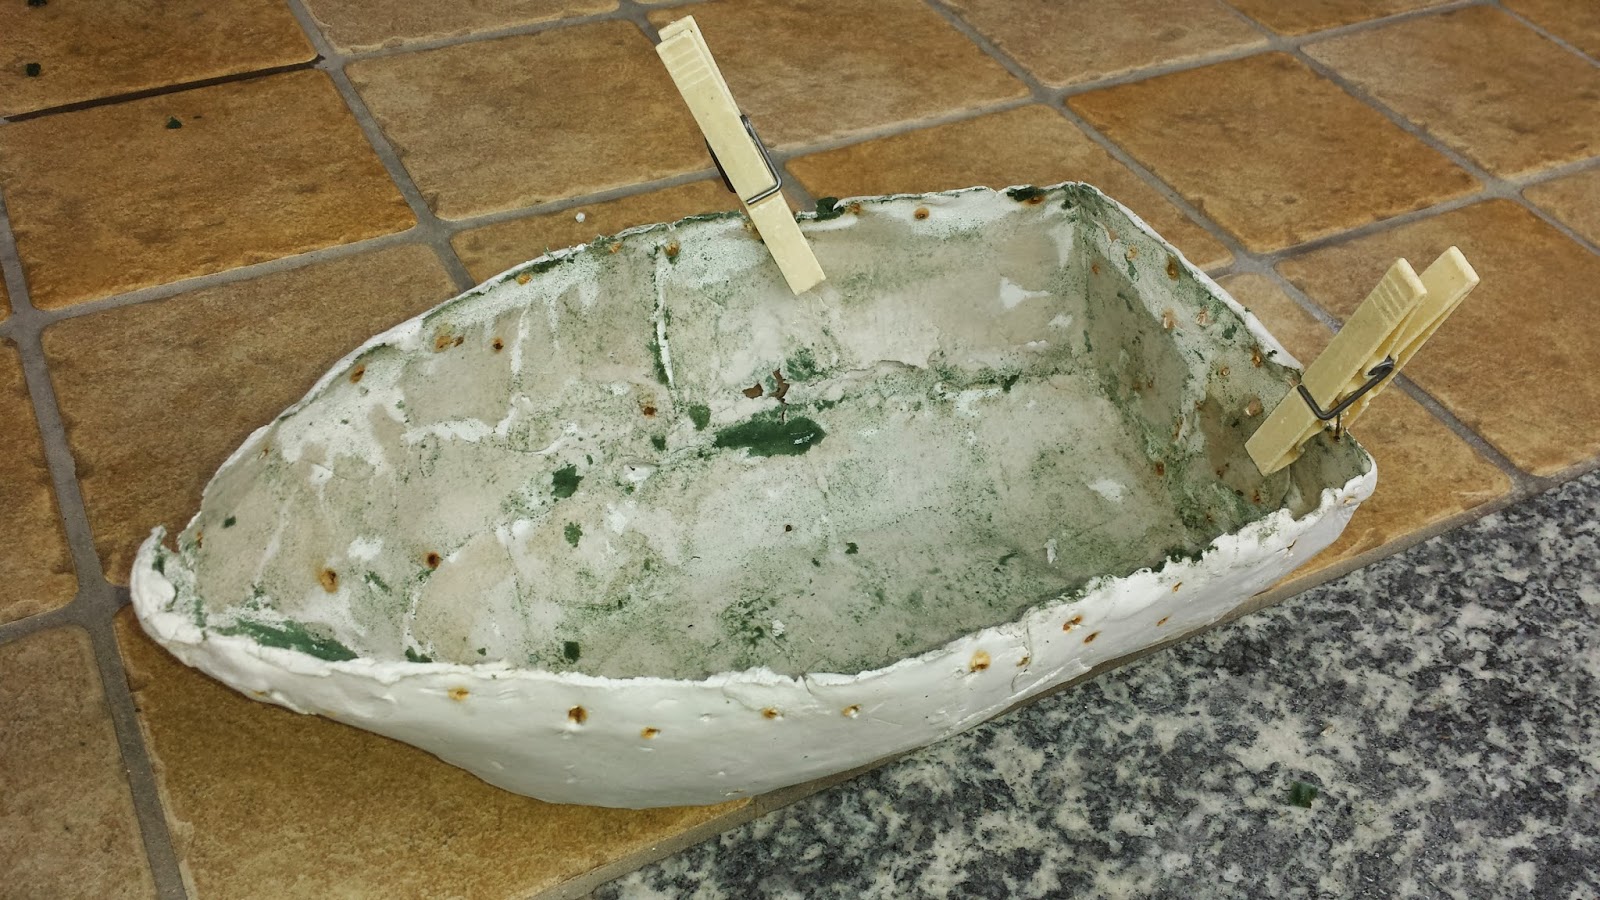
A few days later, when the DAS had hardened enough, the mould was removed and we now have the core!


3. It's now time for the fiberglass:
- Fiberglass (Glassfiber-resin-catalyst); Remember to use facemask and gloves!
- Brushes
- Scissors
- Disposable gloves
- A small jar


We will be posting the second part soon!
No comments:
Post a Comment